The Best Photo Light Boxes
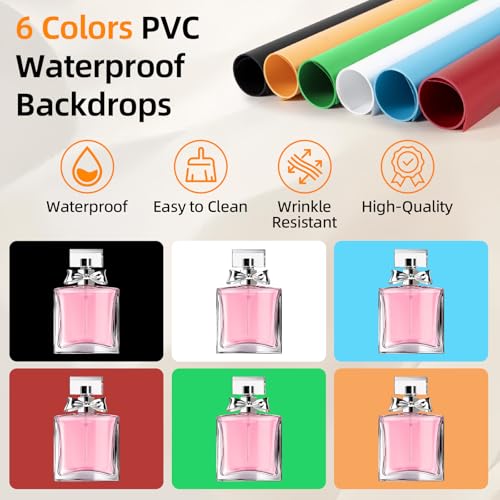
To help you find the perfect photo light box, we continuously put forth the effort to update and expand our list of recommendable photo light boxes. Our team collects, edits and publishes new information, in order to present it to you in an accurate, significant and neatly arranged way.
Our Picks
8 More Photo Light Box Alternatives
Table of Contents
Buying Guide
Why You Should Use a Photo Light Box
Common light sources are fundamentally flawed for this kind of picture taking since they typically produce uneven lighting as well as distracting shadows and improper white balance. If you use the camera’s flash, then it is likely to overexpose the subject’s front while underexposing the other areas of the image. If the photography subject is even a little shiny, then the picture could reveal small and extremely bright reflections. Along with this, dark shadows often show up in pictures that are taken in common light sources due to the stark and direct nature of this kind of light.
When you’re taking a picture of an item, bright, direct sunlight is best because the light source will be more natural. However, just like the light that comes from your camera’s flash, you may see small, bright reflections in addition to harsh shadows. There is one time when this won’t happen, which is sunlight on a cloudy day. Your pictures will turn out on these days because the light is diffused and soft. Even with weather apps, it’s tough to predict when the light will be to your benefit. This limits you to brief moments of photo-taking opportunities.
The kind of lighting that will give you the most problems is room lighting. Often, rooms feature lights that vary in color temperatures, making it challenging for photographers to get the white balance right. Along with this, when you’re taking photos in a room, there’s typically not enough lighting, and this will cause the object that you’re taking a picture of to show up underexposed.
Where Can You Get a Photo Light Box?
Photo light boxes are commercially available, and they come in different prices and sizes. This piece of picture-taking equipment is also affordable. If you have the supplies and time, you can make one out of a cardboard box, non-reflective paper and tape. You will also need scissors and space to create it.
Tips for Lighting a Photo Light Box
The best way to light your photo light box is to use two adjustable lamps that you can light with 100-watt daylight bulbs. By using daylight bulbs, you’ll be mimicking the color temperature that the sunlight gives you. This produces a natural white balance, and it decreases the need for post-processing.
Halogen work lights and flashes on wireless triggers are other lighting options. If you go with halogen lighting, then make sure that you position them far enough away from the sides of the box for safety. Halogen lights reach high temperatures, and they can turn into a fire hazard. In any case, when you’re taking photos of products, don’t use the camera’s flash. You’ll get a better picture by shifting the light sources around the item until it is properly illuminated.
Take Better Photos with a Tripod
Since you’re not using your camera’s flash or another source of bright, direct light when taking pictures in a photo light box, you’ll need to set your shutter speed to a slow option. Because of this, holding the camera as you shoot your photo is likely to cause your camera to shake. Prevent this by using a tripod. With this piece of equipment, you’ll have complete control over the angles of your photos. If you’ll be taking a lot of pictures, consider getting a remote to the trigger. This prevents shaking, letting you take better shots in the photo light box.
If you don’t have a tripod and would prefer to avoid investing in one, then position your camera on a steady surface. But, make sure that it lines up directly with the product that you are taking a picture of in the light box. With this step, you’ll get the best shot.
Best Photo Box Camera Settings
When you take pictures using a photo light box, there will be a great deal of white in your photos. Because of this, your camera may have exposure trouble. This means that your pictures may wind up somewhat underexposed. You can resolve the issue with exposure compensation. Set your camera to +1 and +2. Along with this, some cameras have trouble dealing with auto-white balance when you’re shooting under an incandescent light. In this case, the light will be too warm. If this shows up in your photos, set the manual white balance to 3200k. If it is still too warm, lower the white balance to 3000k. Adding more blue is another way to modify the white balance. Try different amounts of blue until your pictures look right to you.
Since you won’t be using a flash when you’re shooting in a photo light box, a long shutter speed is required. Consider setting your camera to its aperture priority mode. This will help you obtain the best shutter speed, and it will also let you take photos in your preferred depth of field.
Tips for Post-Processing
If after using these picture-taking tips your photos still need some modifications, a few photoshop suggestions may help you perfect them. In the photoshop program, select Auto Levels. This will resolve most of the big visual issues right away. In most cases, the Auto Levels option fixes problems with tone, color and depth in your pictures. Sometimes, auto levels in photoshop can be slightly off, and when they are, your image will be too red, green or magenta. If your pictures look this way, adjust the color balance in the program until you like the way it looks.
To remove small imperfections like background wrinkles and dust or even spots, use the band-aide tool. If the photo blemish is near the edge of the picture or along the seam, then the program’s clone stamp tool is a better choice as it duplicates selected areas.
Kicking Your Photography Up a Notch
If you sell items on any of today’s online sites, it’s important to take good pictures of the products that you have for sale. This will help you display your items clearly, increasing your online success. When you’re ready to take your photography skills to the next level, invest in a photo light box. This piece of photography equipment will help you take better pictures, ones that you can use to sell your products.
Top Rated Photo Light Boxes
If you're looking into finding the best rated photo light box, you should probable check out the Glendan Portable Studio Box. We looked at various sources of reviews and found this one to have the best mix between review count and average rating stars.
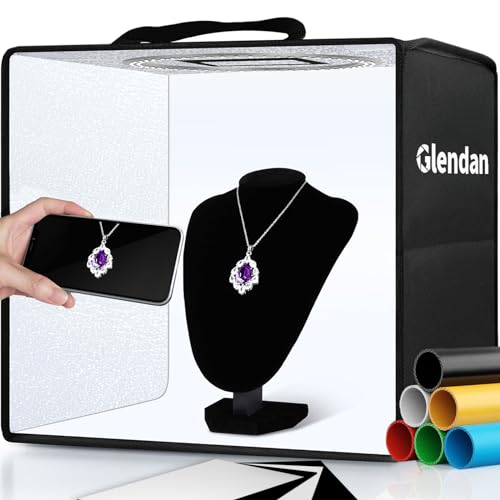
The Lowest Price We Could Find
Often, going for the best price is a simple but good option. With a price of $27.92 (last checked this morning), we do not list any other photo light box cheaper than the Hellovetee Box. Just remember that it's not always the best option to go for the cheapest one.
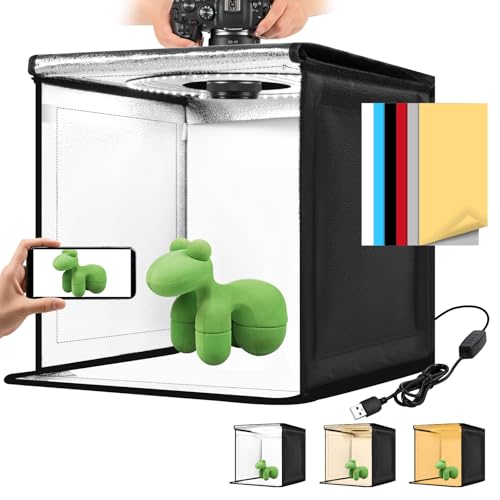
The Photo Light Box With the Most Reviews
With at least 0 reviews and counting, the Glendan Portable Studio Box might be another option to consider. This large amount of reviews signalizes that many people are using it, with most of them beeing satisfied.
High Quality Photo Light Boxes
It's quite rare that the saying "You get what you pay for" turns out incorrect. If you have the money on the sideline, feel free to choose the most expensive item from our list: The PULUZ Professional Large Box currently sells for $219.99.
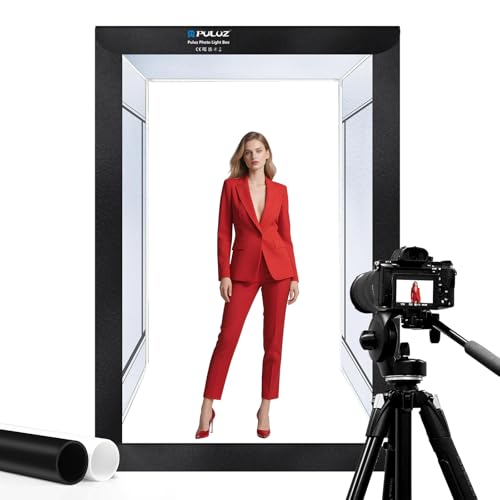
The Photo Light Box With the Most Clicks
If you trust us and our users, feel free to check out the Glendan Portable Studio Box. Our statistics say that it is the most favorite Photo Light Box from the list above.
Our Bestseller
If you're still undecided, I would recommend that you go with the masses and choose the top selling photo light box: The Glendan Portable Studio Box is the hottest bestseller in this category right now.
Photo Light Box Reviews
Further Reading on Photo Light Boxes
Comments
About this Article
It was last updated on 2026-10-11 08:55:01 and has been viewed 10910 times.